
DIY Fruit Press
plans to build it yourself for under $100Come September you can drive pass vineyards in our area, heavily laden with the smell of Concord Grapes. It’s prime time and farmers are harvesting late into October. We get our first taste from the wild vines lacing our property, but for the amount we need to preserve, we’re lucky enough to have a friend growing commercially for Welch’s. When provided the opportunity to purchase some grapes, it wasn’t the few bundles you’re imagining from a farmers market. It was by a 55 gallon drum.
Like most things we do here, we said Yes! before we had a plan in action on what exactly we were going to do with 55 gallons worth of grapes.
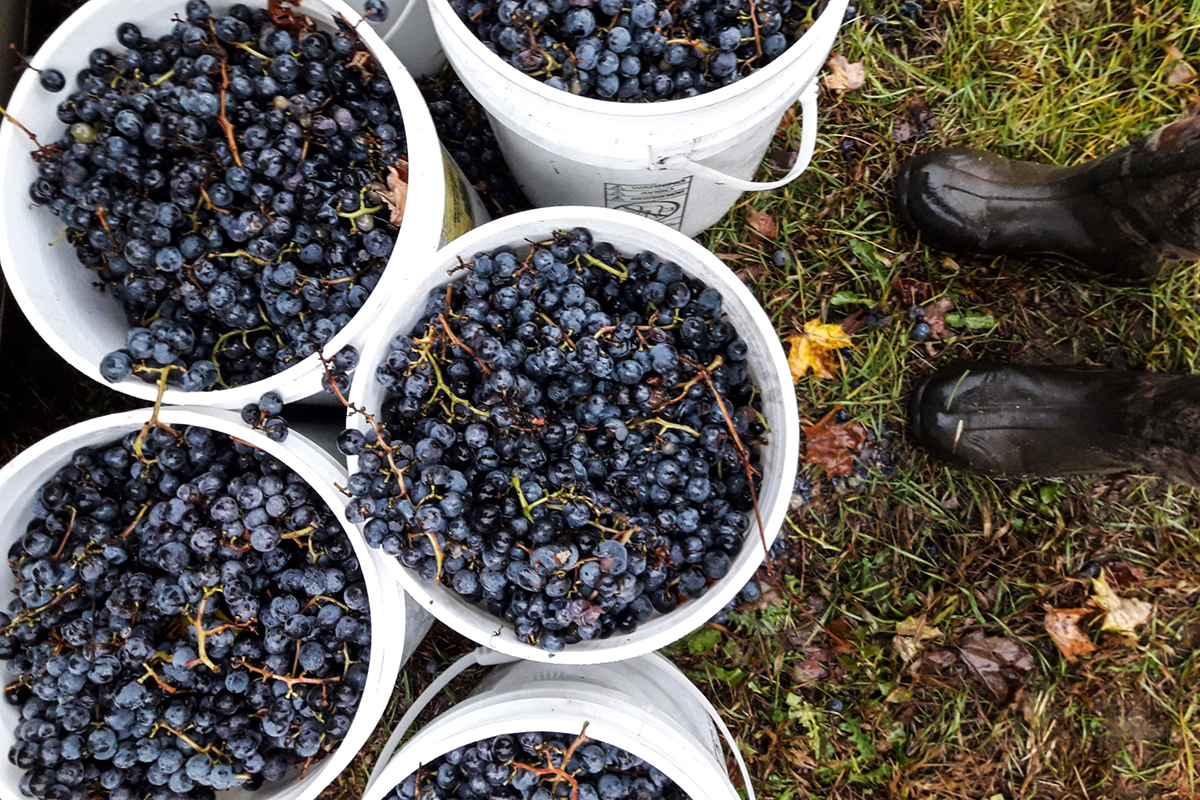
As promised they arrived perfectly picked, floating in their own juice ready to be processed. Looking at the massive barrel we realized we needed an efficient way to crush the grapes into juice. For this amount, a grape stomp party was out of the question. Plus…feet.
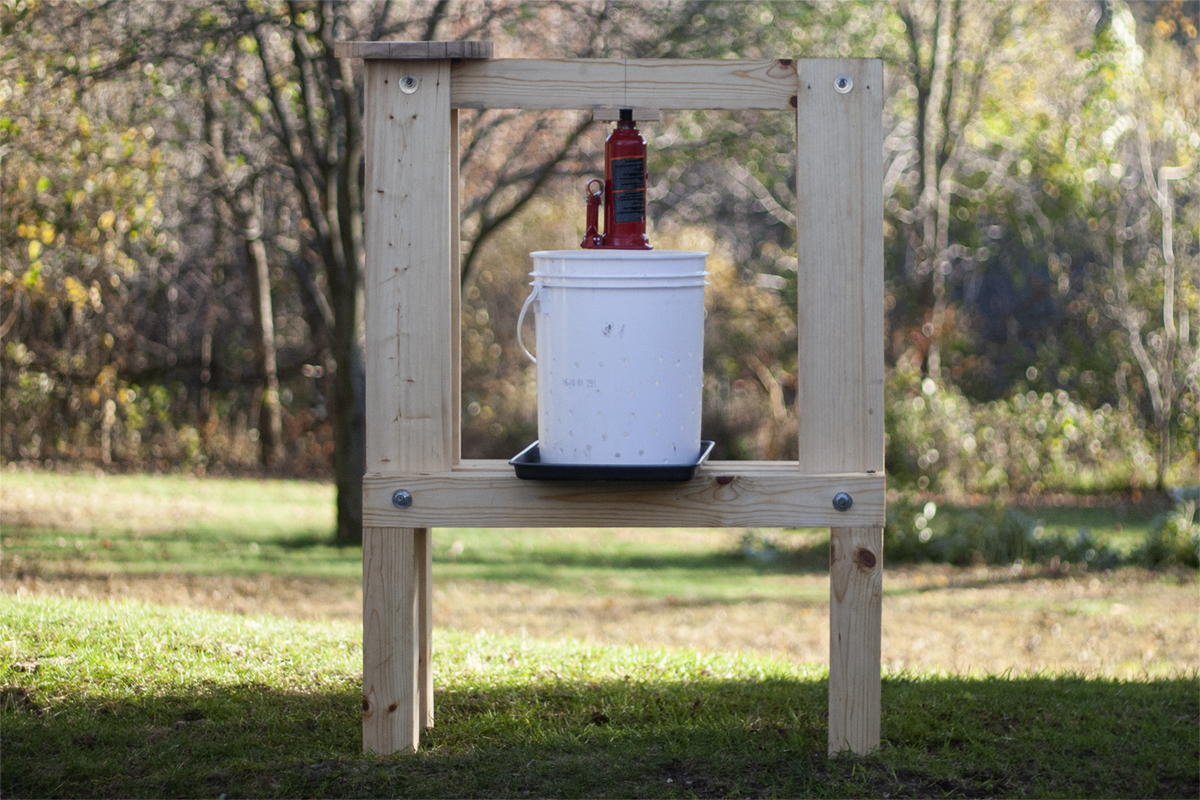
With free diy fruit press plans scarce and our timeline short, Rich set off to build a press. This is not an original design, and we do not claim it to be. Rich built this press from looking through images from various online sources. We did not purchase any plans or books for dimensions.
Also, a couple things to note:
We used what we had including the 1” thick wood to cut inserts from, buckets, and the bottle jack. A hydraulic bottle jack only works top up, so that’s the way we had to install it. If your jack can work either way or you modify it too, it’s much easier to mount the flat bottom of the jack. Alternatively, you can purchase a screw-type press and mount accordingly. Lastly, we do not buy 5 gallon buckets. With our maple syrup production in the Spring we used a few buckets we already had on hand. You can find out how we snag free food grade 5 gallon bucks in our blog post here.
Is the press perfect? No. Did it work for us in a pinch, and continue to do the job? Yes. To our own surprise it works for exactly what we need, and Rich pulled it off for under $100! We can crush 5 gallons of grapes at a time in just minutes.
Now let’s get to why you’re really here. DIY Fruit Press Plans:
What You’ll Need:
- 2 – 8ft 4×4
- 2 – 8ft 2×6
- 12 – 6” flat head lag screws
- 2 – 7” carriage bolts
- 30” ⅝ or ½ inch threaded rod with washers and 8 nuts
- Linseed Oil
- 1- 4 ton bottle jack
- 1 – 10” circle from 1” wood (can also use ¾” plywood doubled up)
- 6 – 5”x5” squares from 1” thick wood
- 1 – sheet pan with sides
- 2 – 5 gallon bucks
- 1 – nylon straining bag 24” x 26” (optional)
Tools we used included a drill, paint mixing attachment and a jigsaw.
Construct The Press
In addition to the supplies listed above, we’ve put together a quick guide on how to assemble the fruit press. The guide was written with the expectation that this is not your “first build”. The diagrams within the guide are not drawn to scale, but to provide a perspective for a better understanding of how to assemble. Once the press is built, we gave ours a good coat of linseed oil to protect it from the elements and help maintain it’s longevity.
Ready to start building? Download the guide below!

Prepare Buckets, Sheet Pan & Inserts
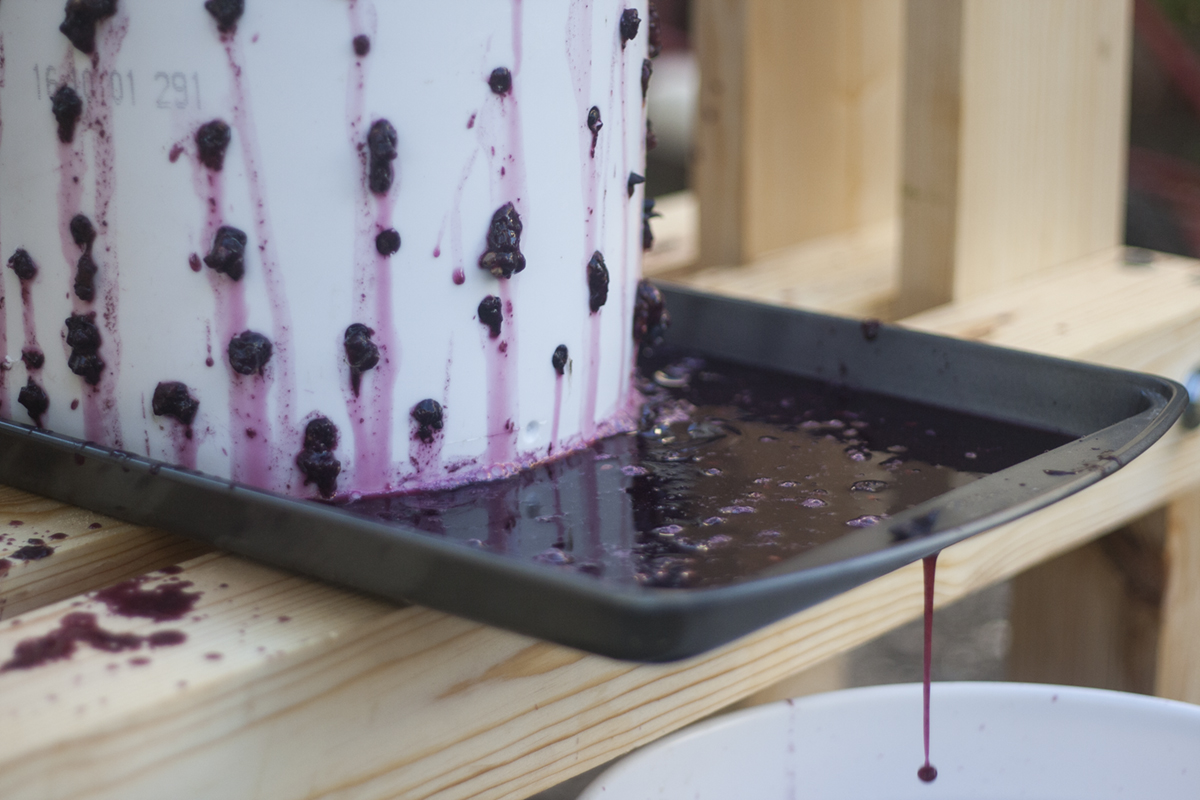
Take 1 – 5 gallon bucket and drill holes throughout to allow the juice to escape. Take the second 5 gallon bucket using a jig-saw (or device of your choice) and slice down one side, removing the bottom. This is to create a “jacket” to go around your first bucket to control splatter.
You’ll want to make sure your sheet pan is large enough for a 5 gallon bucket to sit in. We used a sheet pan with sides, drilling two holes at one end for the juice to drain into our final pan.
You’ll want one round insert to sit on top of the grapes, leaving little space between it and the bucket, creating even pressure. Using a jigsaw we cut a circle 10” in diameter out of 1” thick wood. We had this wood on hand, but understand this thickness is not commonly accessible or economical. You could also double up ¾” plywood to create the same effect. In addition to the circle, you’ll want roughly 6 squares to stack on top to help give your bottle jack length to reach the bottom of the bucket.
How The Press Works
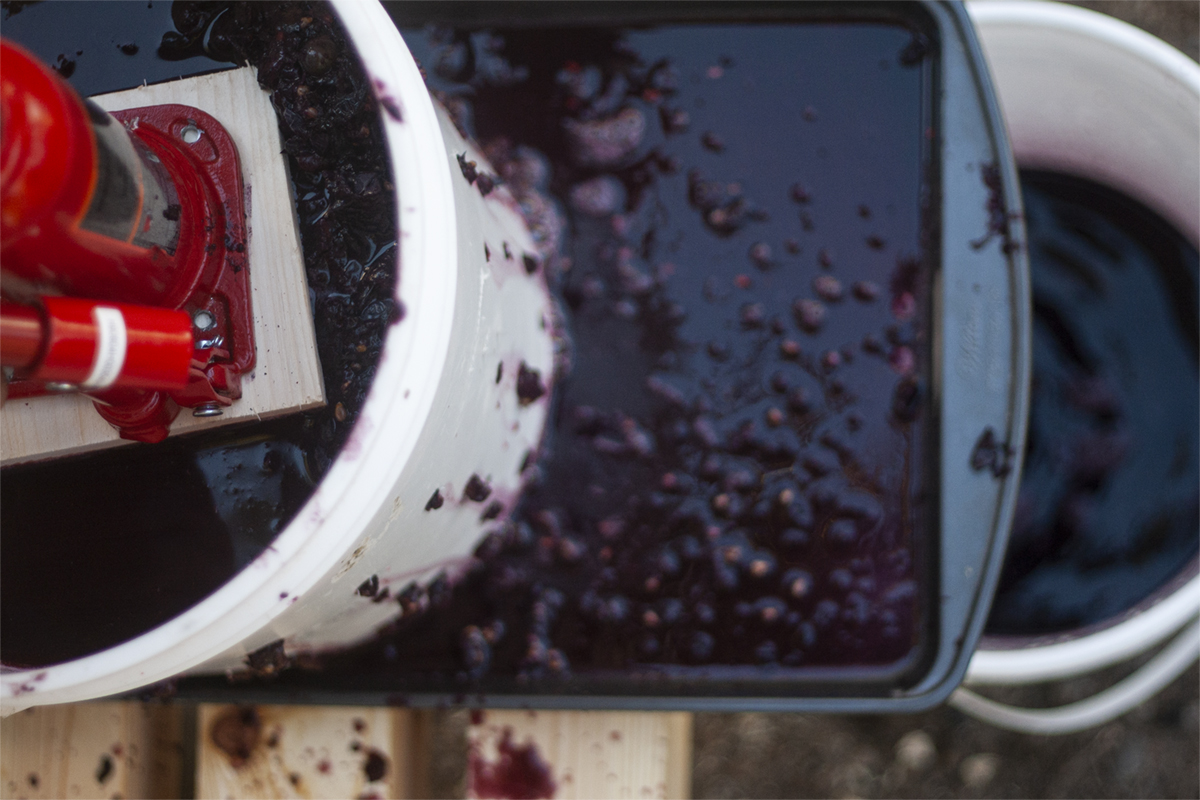
We take the grapes 5 gallons at a time, using a drill with a clean paint mixing attachment we quickly turn the grapes into a slurry. It’s best to remove any stems and leaves if you can.
Next we line the press bucket (one with holes) with a nylon straining bag and transfer the slurry. The nylon bag is optional, but does help strain the juice as you press saving you a step later. Top the bucket with your round insert, then stack as many of the square blocks as necessary for your bottle jack (usually just 1 or 2 to start).
Make sure your second bucket that was cut to create a “jacket”, is wrapped around your press bucket. Slowly begin to press, as juice begins to run from the bucket, onto the tray and drain into your final collection bucket or pan. Repeatedly add more blocks, and press until juice no longer extrudes.
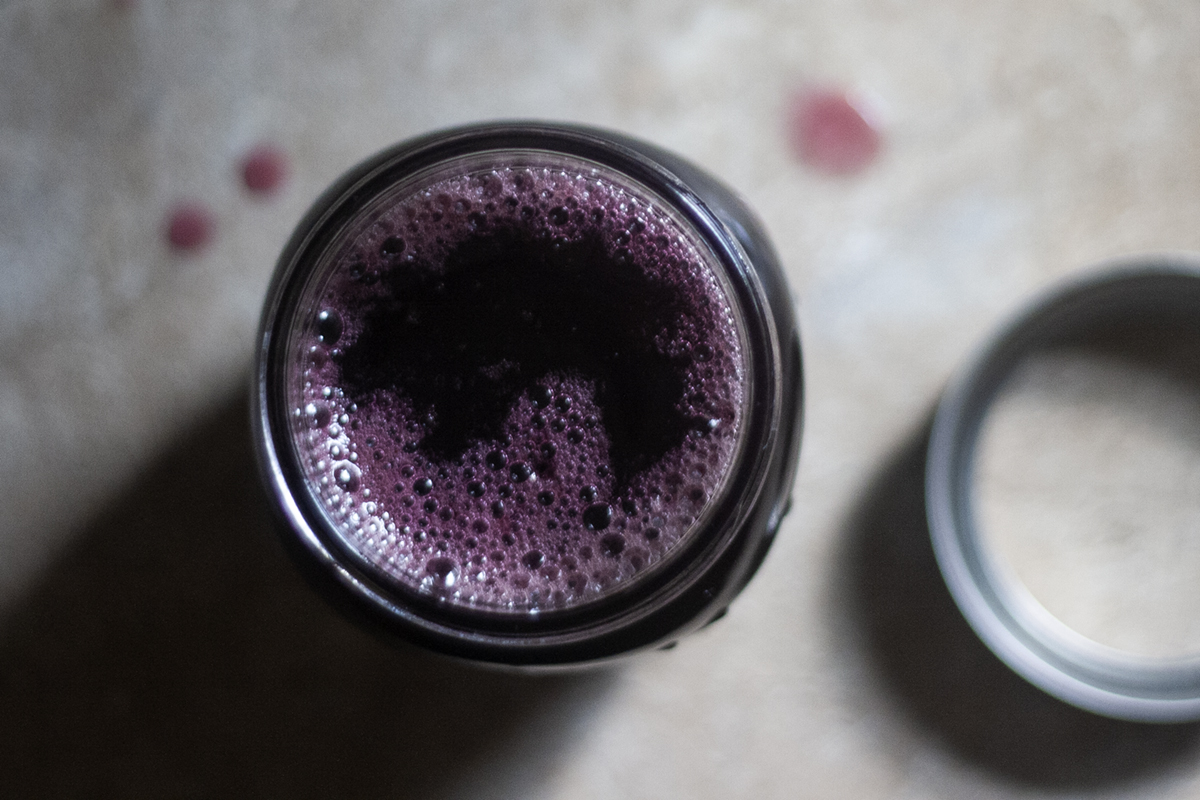
And just like that you have pure grape juice! Or the juice of whatever fruit you decide to press. Now preserve that juice and enjoy it all year!
Have questions? Let us know below.
If you download our plans, share your end result with us @henstoothomestead!
Recently Published
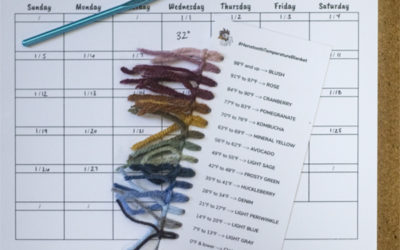
Temperature Blanket
Visualize your homestead temperature data with a crafty, year-long project: A Temperature Blanket.
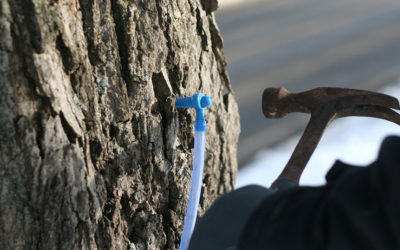
Sweet Sap
If you’re not careful, sap season sneaks up on ya and before you know it, it’s spring. Sap starts flowing when daytime temperatures are above freezing and night temps dip below freezing. This causes the tree to expand and contract, allowing sap to flow freely. You can...

Foraging For Greens
The natural look of orange garland and foraged wreaths seems to be a frugal holiday trend this year. While we’re not usually ones to follow, I loved the idea of wandering our property to collect items to decorate our home. Foraging for Greens I thought we had a pretty...